Zone the room instead of drawing a blueprint
The default layout is four zones plus one reserved edge, arranged around the walk a material actually takes.
Nothing here is a measured dimension: size each zone to your own altar coverage and taste. What matters is the order — in through the entrance, work at the center, out to storage — and the reserved side that keeps the next station cheap to add.
Once the pieces are placed, walk the room: entrance to the Workbench and Carpenter, across to the saw and kiln, and over to the reserved side. If any leg of that walk is blocked, adjust the layout before filling it — keep the paths real; no fixed dimensions are required.
Know the three stations you are placing
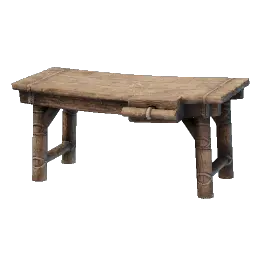
Workbench
The general crafting station — first place in the core.
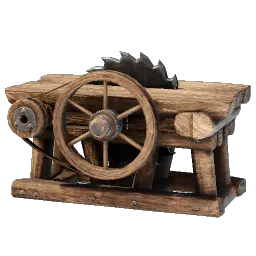
Table Saw
The Wood Plank station; it joins once the saw route is done.
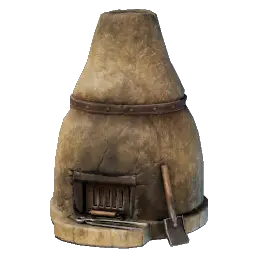
Kiln
The Fired Brick station; both later stations come from a sheltered Carpenter.
The saw and the kiln are not day-one requirements — they join when their production chains matter to you.
Build the core, then add stations
Core first; the layout stays useful because the growth side is planned, not improvised.
Shelter plus Workbench
A covered spot and the first station.
Bring in the Carpenter
The craftsperson opens the workshop’s production chain.
Add the Table Saw
When Wood Planks start mattering — the saw route is its own guide.
Add the Kiln
When Fired Bricks and roof tiles enter the plan.
Keep one side free
The reserved edge absorbs the next station.
Let the storage mechanics do the walking
Start with ordinary chests for the zones and carry materials between them yourself. A Magic Chest makes its stored materials available for crafting and building at the base — that is material access, not automatic transport into a station: what a station consumes still follows that station’s own input and storage UI. The Quick Stack Station is the separate deposit direction, moving matching backpack stacks into accepting chests within its 16-metre radius.
The Magic Chest guide and the Quick Stack guide cover the two mechanics; the workshop job is only to position their pieces sensibly.
Expand when a station queue demands it
Add a station when a production chain or a queue asks for it, not when a blank wall bothers you. The reserved side takes the new station without moving the core.
Beds and comfort furniture belong to a separate rest area — the roof and shelter guide and the Rested guide cover those checks. Mixing the rest area into the workshop zones is how a compact room turns into a cramped one.